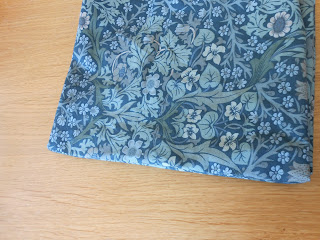
For the second part I will show how to sew the three pieces together.
First you need to place the two half pieces together with right sides facing (the pattern side)
Then tack and sew along the right side of the two pieces.
Then remove the pins so you are left with just the thread and trace a chalk line 0.5 cm from the edge.
Then sew along the line at both ends leaving a space of about five cm in the middle. Remember to sew backwards to add strength.
Then place the two pieces you have just sewn and the large piece together, right sides facing.
Sew around the edge going as close to the edge as you can.
Trim any excess material.
Then pull the material so the pattern is facing out. Pull it through the hole you left between the two first pieces.
It should end up looking like this:
Fold the pieces together so the gap is at the bottom of the bag.
You then need to sew across the hole making sure the edge of the material is on the inside of the bag.


No comments:
Post a Comment